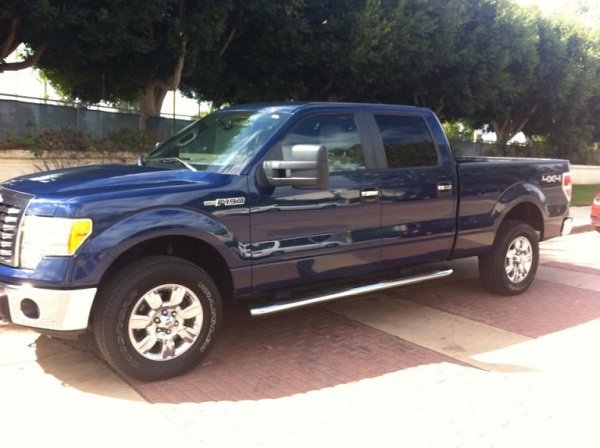
This removal/installation was performed on a 1992 XLT 4×4 that came with factory Auto Locking Hubs. I imagine this would work with the late 80’s through ’97 trucks as well. (95 and 96 use a few extra washers behind the body assembly though). The new manual hubs are Warn brand, Part No. 20990.
Reason for replacement: My factory Auto hubs were 17 years old. They were unreliable and often stuck in the lock position. I would rather have the slight inconvenience but know that the part works exactly how it is supposed to. I also understand that manual hubs get better gas mileage, but I don’t know how much better. Now for the process…
Removing factory Auto Hubs: Remove the torx screws that hold on the Auto Hub cover. Next you will need needle nose pliers and possibly some patience. Use the needle nose pliers and find the retaining ring. There should be a gap in it with two ends that point directly at you. Squeeze the two ends that are pointing at you together and then pull (may require some wiggling) out the body assembly. At this point it will look like you are ready to install the new assembly, but YOU ARE NOT! I made this same mistake. The last step is to remove one more C-clip that is behind the body assembly on the splined axle shaft using two small screwdrivers. This clip is small and extremely difficult to remove (or at least in my case). Once the clip is removed, remove the thick washer that the clip was holding in place. It will slide right off. You are now done with the removal.
Installing (Warn) manual hubs: Grease and install the new body assembly. Install the large C-clip retainer in the hublock body. You will see a thin channel that the retaining clip is meant to fit in. Now is a good time to check to make sure the retaining clip is working properly. Install two of the torx screws that came with the new hubs and gently push and pull the assembly. The assembly should have slight wiggle room back and forth but should not be able to come past the retaining ring. If all is well, continue with installation. If the test failed, check your work. Remove the screws you used for the test and install the cap assembly. Before you insert the cap assembly over the body, make sure it is dialed to the “free” position. On my hubs this is about 2 turns counter-clockwise. Insert and tighten the screws in a start pattern, similar to lug nuts.
Testing the new hubs: To test the new hubs, lock the hubs and raise one front tire off of the ground at a time. When one tire is in the air, spin the lifted tire. You should see the driveline turning. Disengage the hub on the lifted tire, let it spin in reverse motion a few turns and then turn the tire forward again. The driveline should not spin. If all is well, test the other side. When the test is over, make sure both hubs are disengaged and that you have let both tires spin in reverse enough turns to disengage.