Well my usual how long it took and how awesome roush rant placed here.
So the other day i got my roush gauges in the mail from North Coast (thanks guys) and decided to swap the units so that my gauges (factory) would have the roush appearance but still be my gauges with my mileage and flash. thought i would walk you guys through the process. (yes i wish i took more pictures but if you got questions let me know)
I AM NOT RESPONSIBLE FOR YOUR CRAP! IF YOU BREAK IT USING MY INSTRUCTIONS I AM NOT RESPONSIBLE!
what you’ll need:
torx screw driver (to take apart the gauges)
wrench’s (to take apart the dash)
fork (easiet way to remove stock needles)
a long straight away (to reset the needles)
patience (so you don’t break the weak thing in half)
If above is not available, a six-pack of your favorite cold beverage
Procedures:
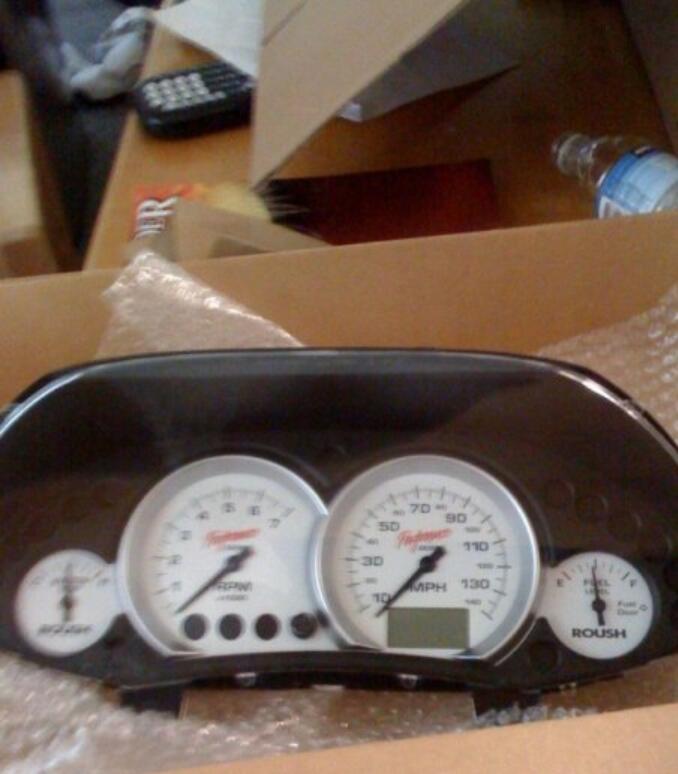
So to start off you will receive the gauges like so:
YAY! that was easy right?
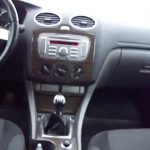
next you will need to take apart your dash to remove the old unit.
Dash removal:
a. their will be 4 bolts underneath your steering unit (where your hood release latch it) that will need to be removed.
b.Once removed give it a tug on the left side (their is a little latch on that side) and it should pull out. I, personally, did not remove this peice (did not seem as a in the way) but you may remove the hood release cable and place that part of the trim away from the dash.
c. their will be a bolt underneath the headlight switch which needs to be taken out.
d. the dash surrounding the cluster is now ready to come out, BE CAREFULL, part of your steering column is also attached to this peice, their are two latches that come off from either side of the steering column that can be pressed to release the dash unit.
e. 4 bolts hold in the gauges, take em out
f. pull the unit out enough to get your fingers on the back of the cluster and remove the harness and cables from the back of the cluster
f2. this harness/ cable is different then most is released by swinging the handle from one side to the other
g. lock up your car (if your in the ghetto like i am) go inside, and get ready to swap out the units.
swaping the units:
In this part we will have to take apart both of the gauges and swap the styling pieces. (most of these instructions will need to be done to BOTH units)
a. go ahead and use the clips to remove the black front piece that has the window part that seperate you from your gauges.
b. use your torx and take out all the torx screws on the units (should be like 4 in the front and two in the back).
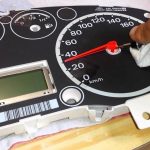
c. you’ll need to remove the needles now, i found it easiest to use a fork for the stock gauges, and my fingers for the roush needles.
WARNING the roush needles are fragile and will bend easily!
d. remove the faces both the units.
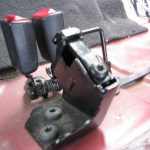
d2. when removing the face on the roush unit, you’ll need to disconnect the light bulb fixture as wellthe back of the roush will look like this:
e. now for the swap we can’t just swap faces, you’ll have to take all the light bulbs out from your old cluster and put them in the roush cluster (if you intend to make the roush cluster look and work like your old cluster, for resale or back up use).
f. removing these bulbs is a b!tch, my fingers hurt from it. takes some getting use to but it can be done! basically i took a flat head screw driver and poked the latches up while twisting from the other side. they popped out!
g. place the bulbs into the roush unit in the same pattern you take em out.
h. once the roush board has the stock bulbs inserted, you can go ahead and put them back together.
Remember:theroush unit is going to now have the stock faces with the stock bulbs, the nifty EL glow system is going along with the roush faces in your existing unit.
Put it back together:
a. this part is pretty self explanatory, put the gauges back together (minus the window on the unit you will be using)
b. when putting the unit in the car i recommend leaving the window off the gauges so that you can do the needle hack (1,2) to make sure your gauges read properly.
c. once gauges are done time to put the window back on it
Carefull! when putting my window back on my gauges, the silver trim piece would fall off and hit my needles! then back to square one with the needle hack! finally pulled the gauges out enough to tilt them up made it easier.
d. put the car back together
Enjoy:
a. bask in the glory of your new gauges
b. pat yourself on the back for sitting through this entire rant that i typed up at 11 pm
c. wait for night to fall so you can really see this thing in action
d. store your old/ new gauges away, or sell them to a person needy of a new tach on your preferred site