This article show a step by step guide on how to paint wheels for Ford Focus.And you need to try this guide at your own risk.
Note:Always put safety first; using jackstands, eye protection, and all other required safety measures. It is also recommended to have supervision whenever possible.
What Materials You Need?
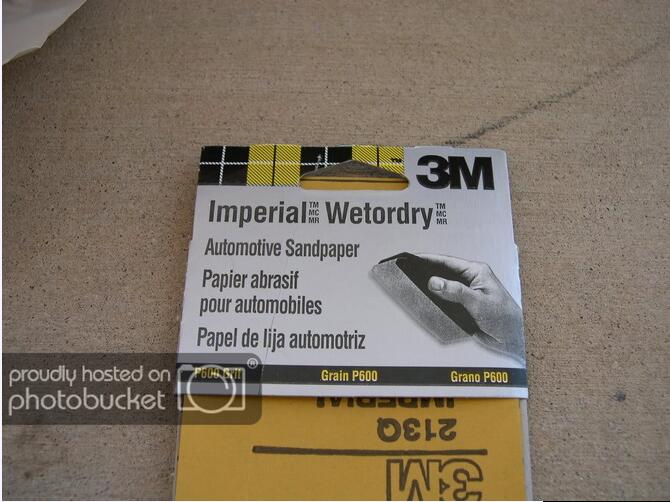
1.600 grit wet or dry sandpaper
2.1000 grit wet or dry sandpaper
3.Dish soap
4.Prep cleaning product
5.New or very clean rags
6.2-3 cans of self etching primer
7.4-5 cans of wheel paint
8.1-2 cans of clear coat (if desired)
So you decided you want to paint your wheels, but you aren’t sure how to go about it? Or have you done the job before but weren’t happy with the results? This how-to is your one stop guide to painting wheels…..though in this case, it is specific to a particular look and product, but the same principals will apply to any wheel painting project you want to do.
This how-to specifically shows how to apply Duplicolor’s hwp104 satin black wheel paint.
Not interested in a satin finish? Just ask here or PM me and I will gladly help you with any look you want to achieve.
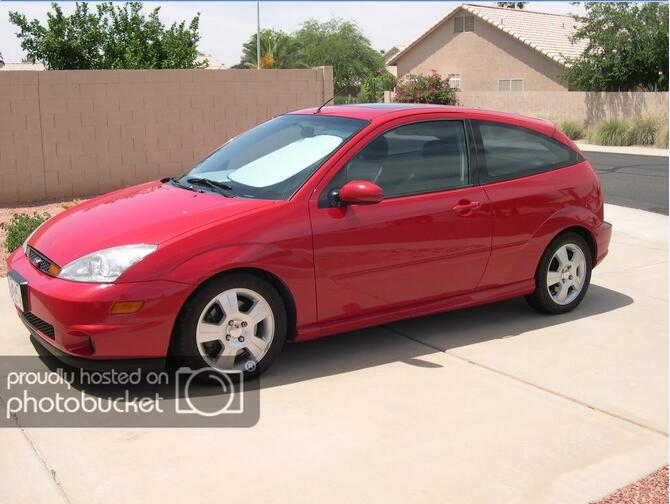
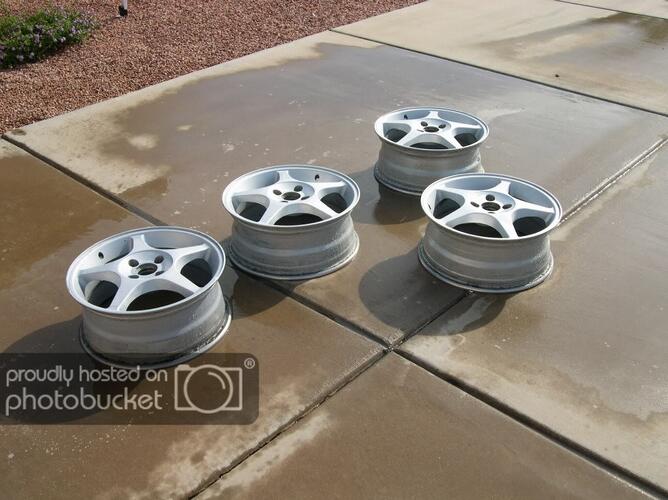
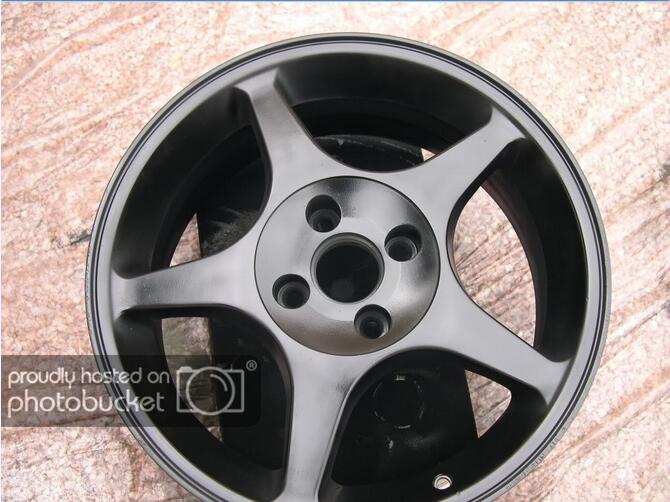
The wheels and center caps being painted are the stock 5 spoke wheels from a 2003 Ford SVT Focus:
The first step, not pictured here, was having a tire shop remove the tires, weights and valve stems from the wheels. The next step was to pop out the center caps from the inside part of the wheels. It should be mentioned here that while this project was underway, the 2003 Ford SVT Focus was temporarily sporting 16” factory 5 spoke 2005 Focus SES wheels and tires:
The first step was to wash the wheels in a strong solution of dish soap and water. Once that was done, the next step was to thin the same water used to wash the wheels with more water and use it for wet sanding.
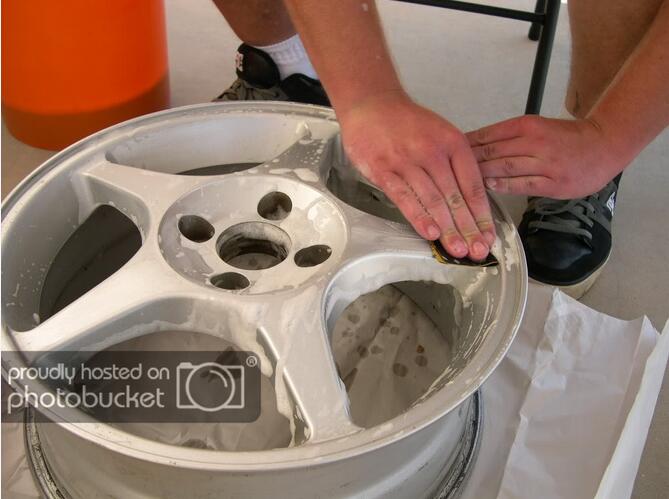
The next step was to scuff the existing surface with 600 grit wet or dry sand paper. It is recommended to wet sand for scuffing with paper, as the soapy water lubricates the surface and prevents the paper from getting gummed up with the paint you are sanding:
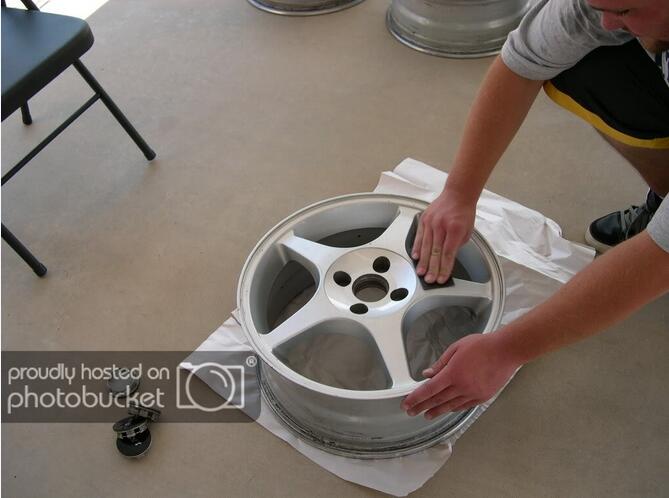
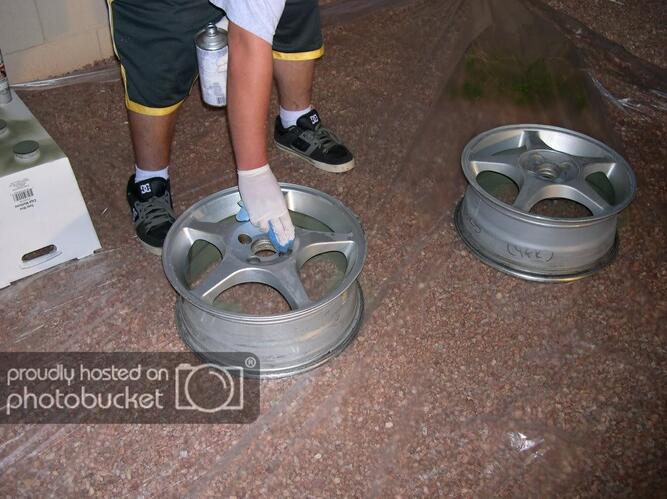
At times, it is helpful to wipe an area you have been sanding with a damp cloth (wet it in the same soapy water you are using) to check your progress:
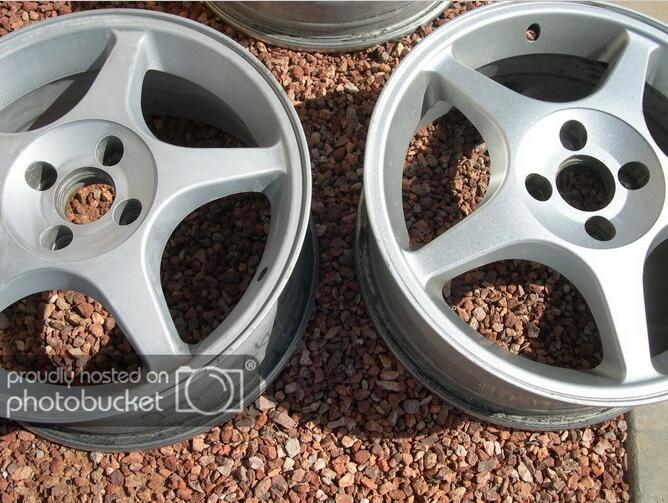
The idea here is not to sand until you hit bare metal. Your goal is to scuff the old factory paint until it is no longer reflective and shiny, and has a dull flat appearance. This picture shows the contrast between a sanded wheel and unsanded; the sanded on the left, unsanded on the right.
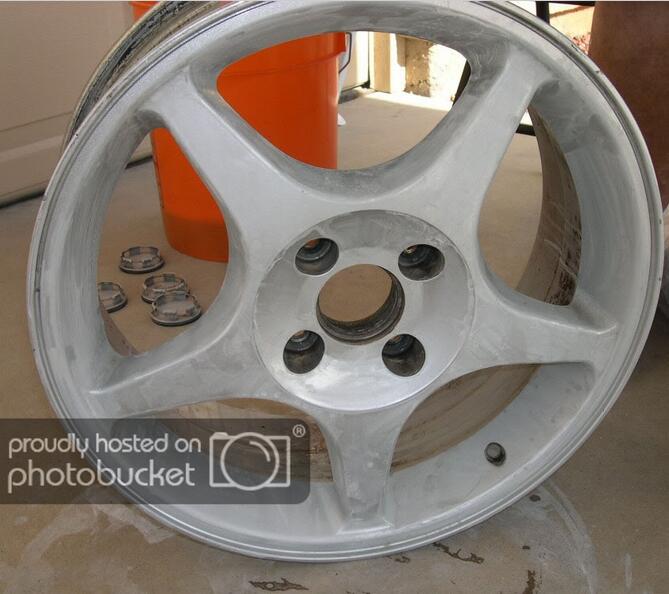
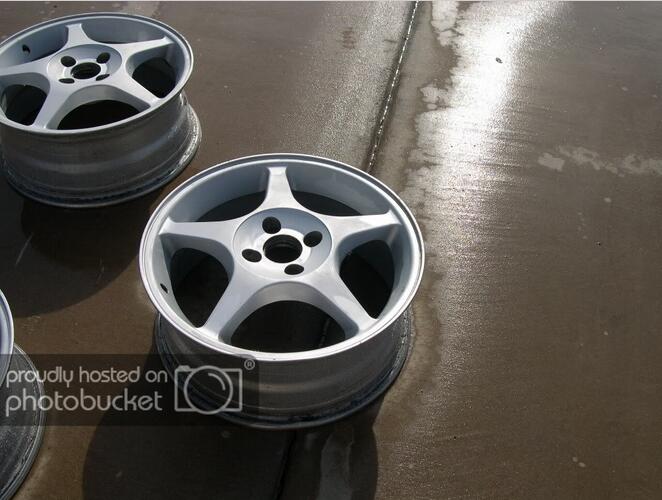
This is what the wheels will look like when you are done:
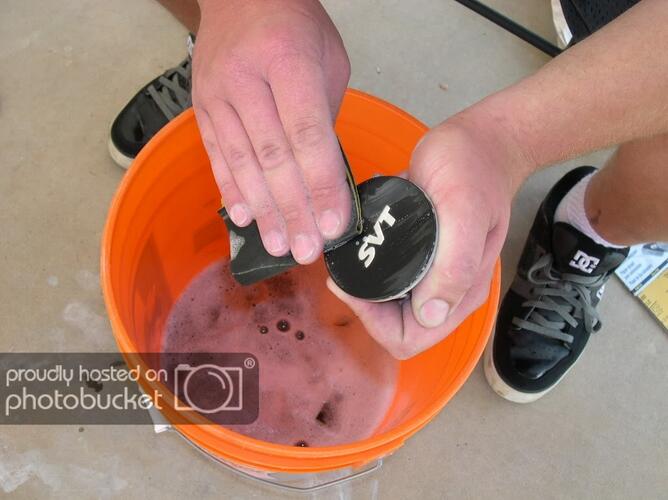
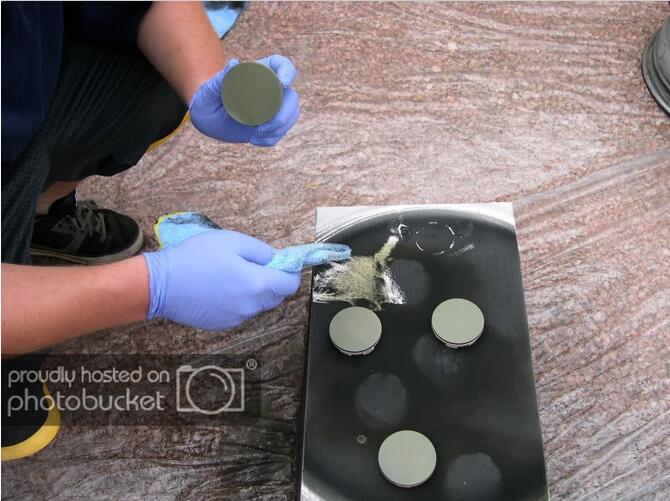
If you want to paint your factory center caps as well, you will have to wet sand them with the 600 grit as well:
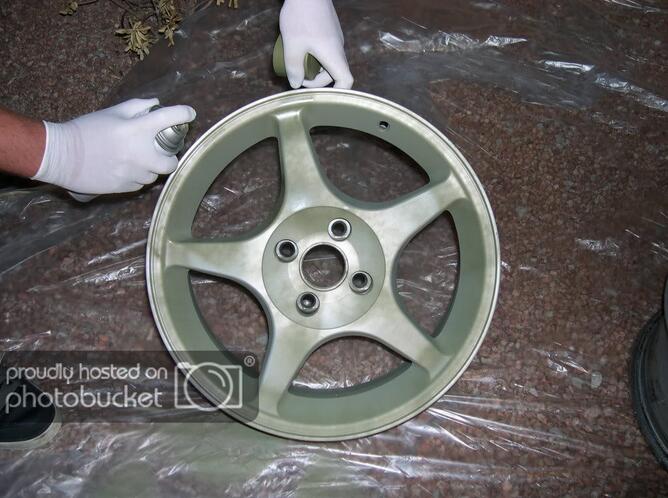
Once you have finished sanding (inside and out) you will need to mix up another batch of dish soap and water, very strong. Use this to clean anything you have sanded. In fact, wash them twice. After, let them dry someplace for a few hours until they are completely dry:
This is what a cleaned wheel looks like in direct sunlight after being sanded:
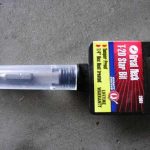
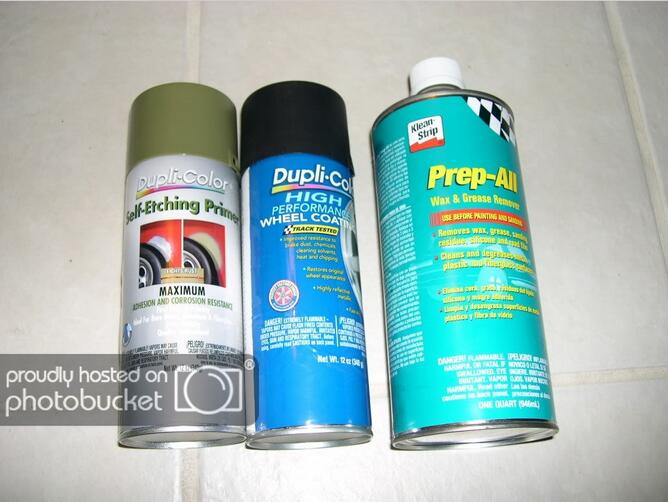
Here is what you will need for prep, priming and painting; a quality cleaner such as Prep-all or tec900 cleaner, primer that will “bite” into the existing factory paint, such as Duplicolor’s Self-etching primer, and of course your wheel paint, in this case, Duplicolor HWP-104 Satin Black:
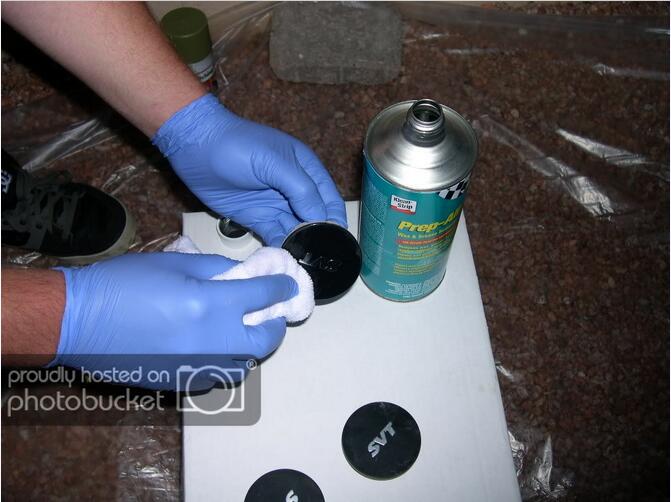
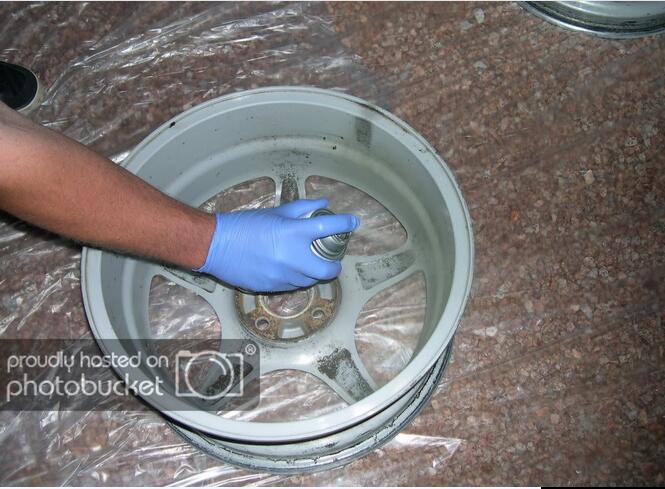
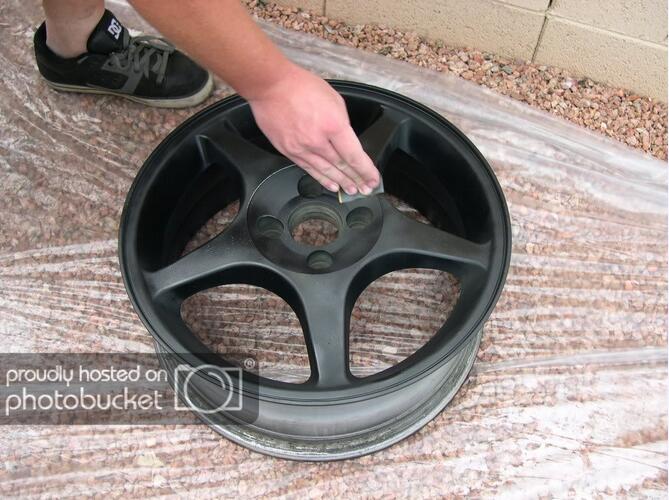
It is recommended you begin the painting process on the back side of the wheel. The first step is to clean the inside of the wheel with your prep cleaner, in this case Prep-all cleaner. To begin, play it safe and clean everything at least twice. Get used to it; you should be cleaning before each coat of primer and paint. Be sure to use a soft lint free cloth that is either new or is very clean:

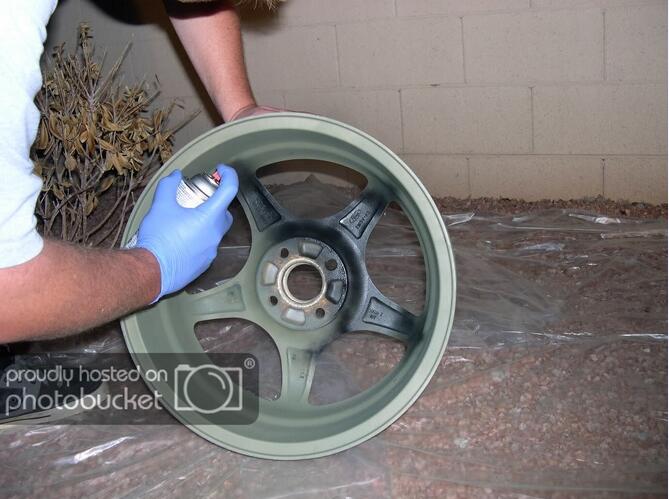
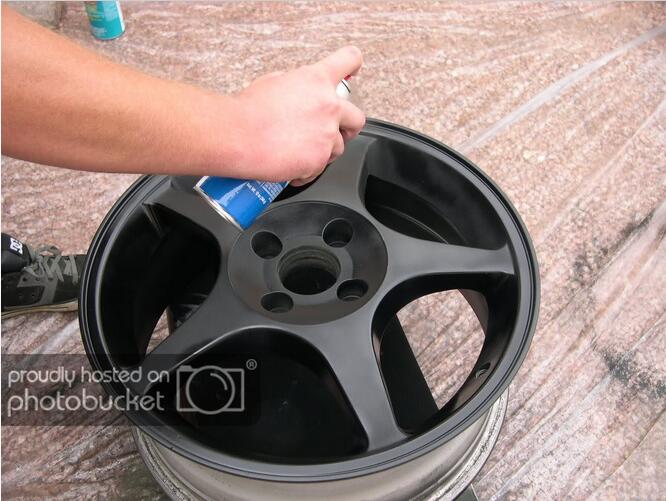
Next, its time to start primering. As directed, after shaking the can for 2 minutes once the agitation ball is free, use a gentle sweeping motion back and forth. For your first coat, you want to go very light. Subsequent coats can be heavier, but never heavy, as this can lead to runs, sags and bubbles, also known as fisheyes.
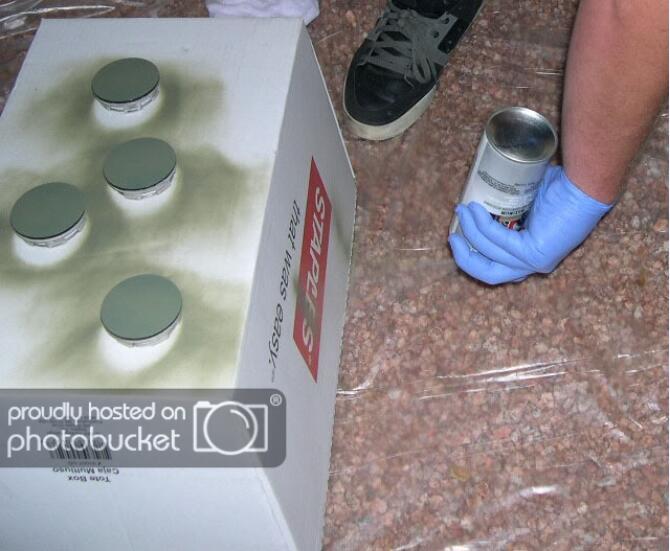
This is a good time to go ahead and prime your center caps as well. The self etching primer is also good for adhesion to plastic.
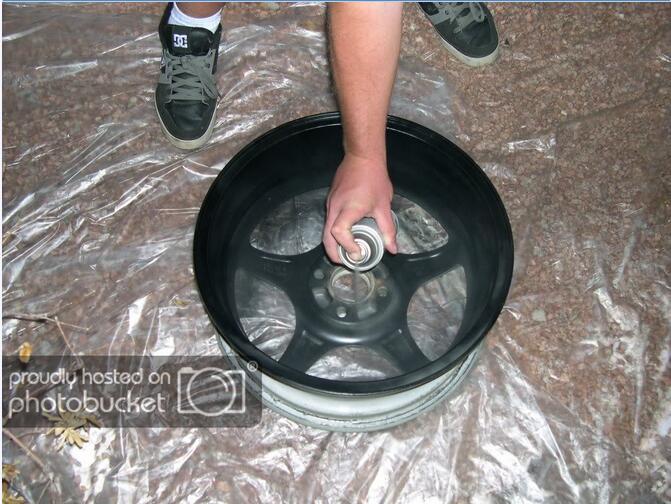
When you are done between coats, you should clean the nozzle of your can by inverting the can and spraying until clear gas comes out:
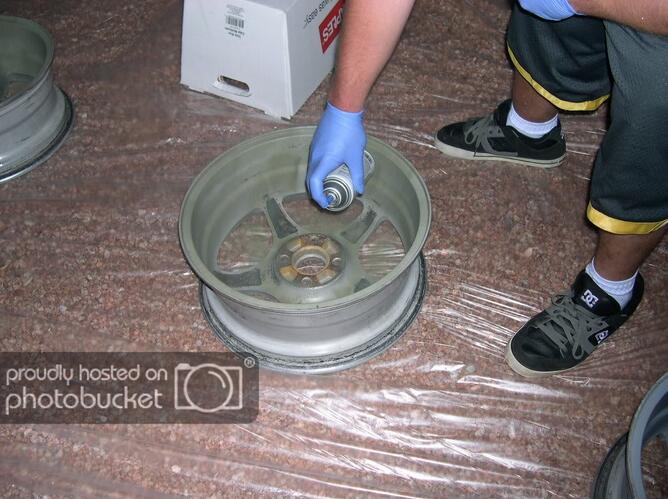
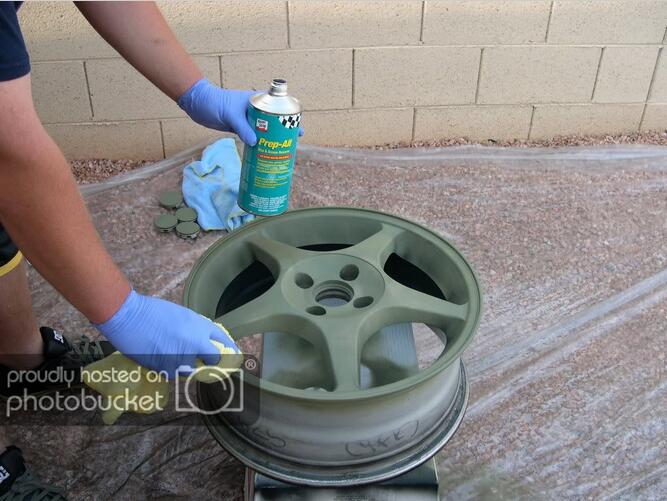
Once you have completed the primer phase of the backsides of the wheels, you can begin the front. Again, the first step is a double clean with the prep product:
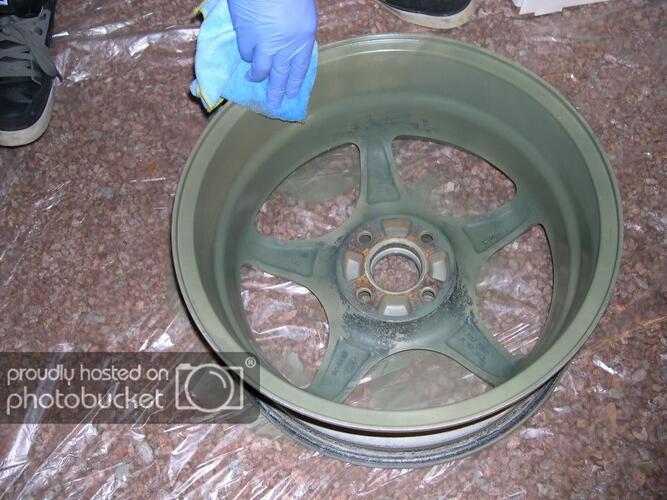
Again, your first coat of primer should be very light. Subsequent layers can be heavier, but never heavy.
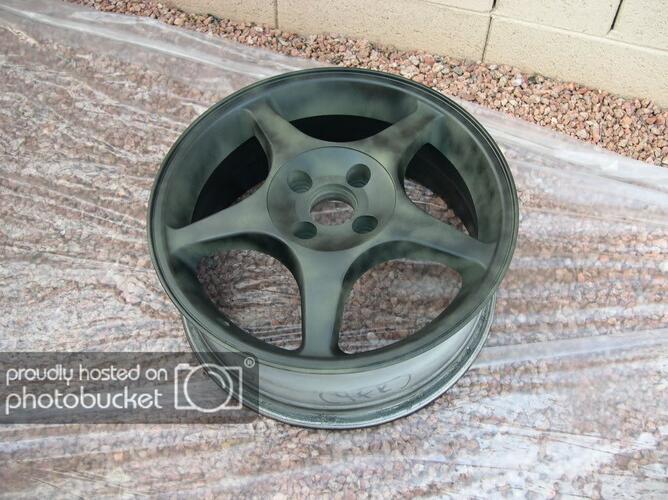
This is after two coats of primer, allowing 10 minutes of dry time between coats, but not more than one hour:

Prior to applying the first coat of paint. Gently go over the rough areas with a 1000 grit paper and clean the wheels twice with your prep product. As directed, after shaking the can for 2 minutes once the agitation ball is free, use a gentle sweeping motion back and forth.
Begin painting the back part of the wheels, it is recommended to start with the difficult areas such as spokes first. As with primer, your first coat must be light, subsequent quotes can be heavier, but never heavy.
This is a picture of the finishing touches of the first coat. For this project, three coats were used for the back side of the wheels. Of course, clean between each coat with the prep product.
Once you have finished painting the back sides of the wheels, you can begin the front side. You may wish to remove any overspray from the backside. Using 1000 grit sandpaper. Again, clean the surface twice with your prep product.
This is a very light first coat; you can go slightly heavier than this but not much more.
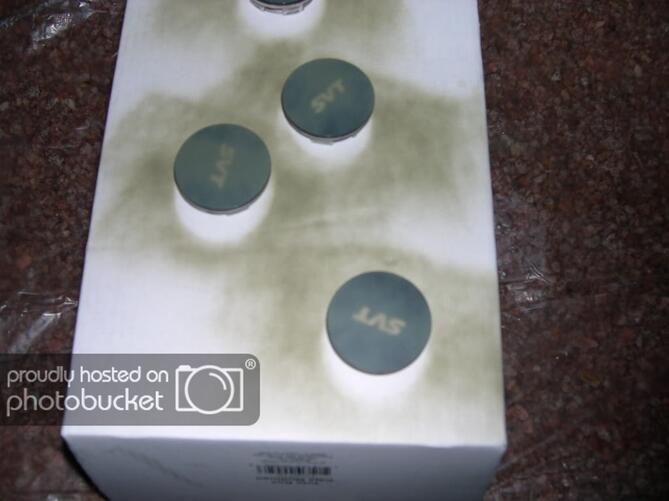
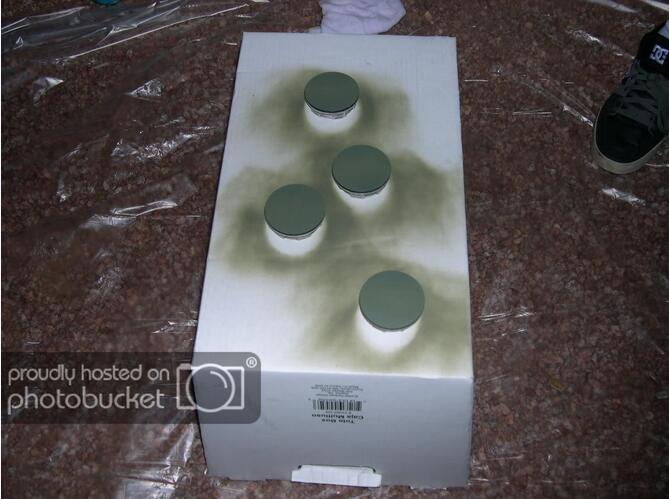
The recoat window between coats for this product is within one hour or after 48 hours. To fill in some time between coats, you can paint your center caps. Of course, lightly sand with 1000 grit, and then clean them twice with the prep product.
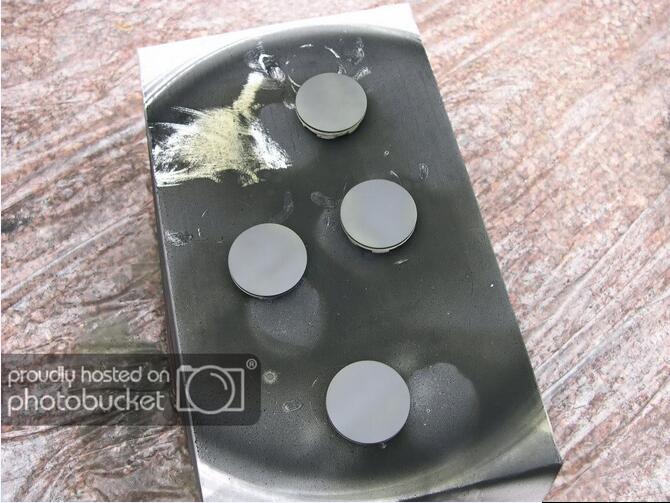
This is the center caps after a light first coat, just like with the wheels.
In this picture, one of the wheels is being sanded down between coats. This was done to smooth a few imperfections. If you run into any issues with your own project, such as imperfections or contamination sometimes you can make adjustments mid project with light sanding instead of stripping the wheel down and starting over. Let the paint dry for less than 1 hour so you can re-coat with the re-coat window, but allow the paint to harden before sanding. A good time frame would be 40-50 minutes, depending on temperature and humidity.
After you have fixed any imperfections, you can do your finishing coats, keep in mind, you have to clean the surface between each coat. It is not uncommon for the final coat to be the heaviest, which will allow the paint to “gel” together, and create a more consistent finish.
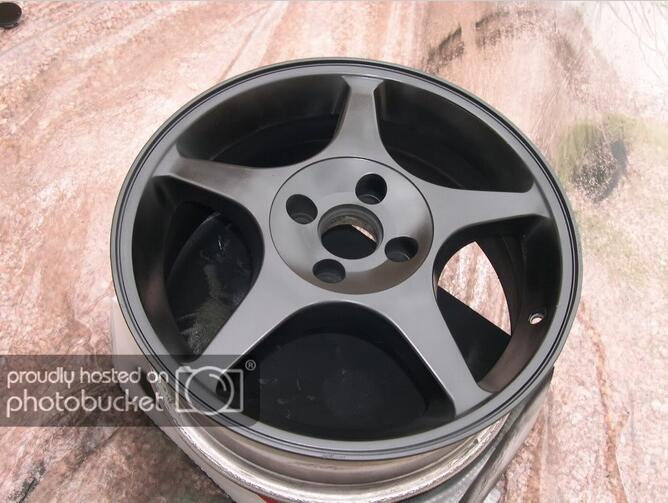
This is what the finished wheel looks like
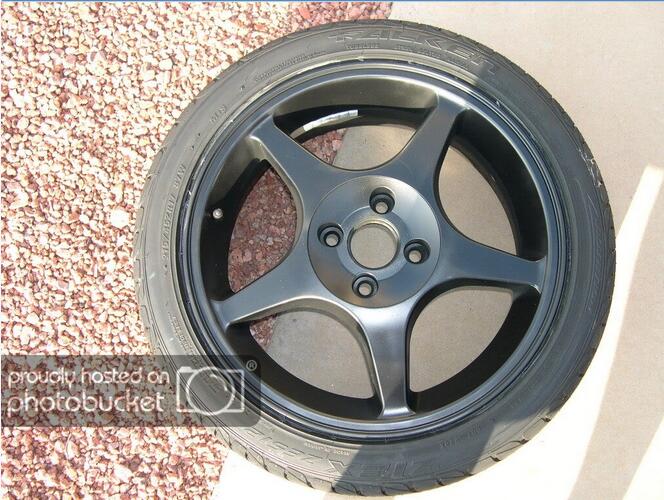
This is the wheel with the tire installed. You may notice that the weights are they type that are glued to the inside of the wheel. Using the traditional hammered on style weights attached the lip will destroy your paint work and not look as attractive.
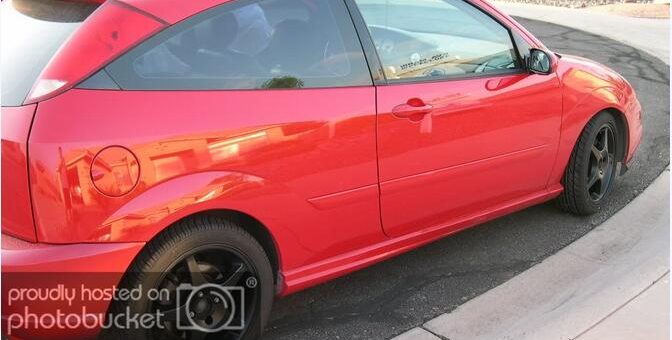
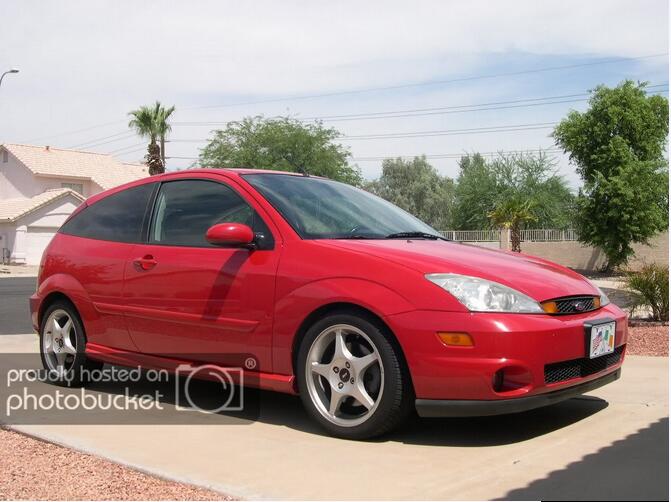
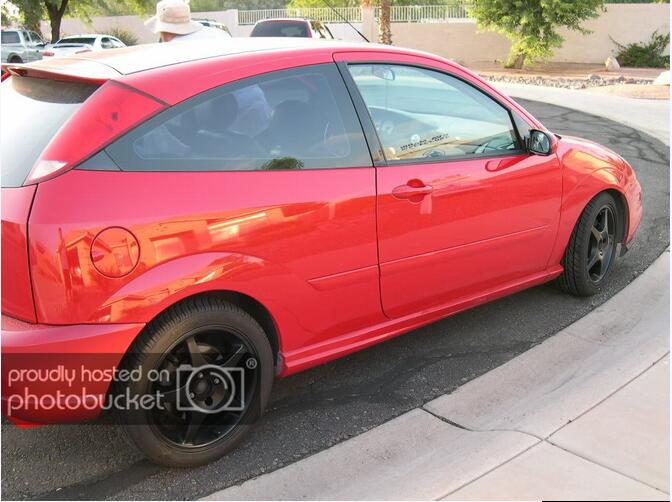
And finally, here is the finished wheel and tire installed on the car:
Notes: In many of the pictures, you may notice that it is either late at night or early morning. Obviously, this wasn’t desireable, but it was needed. This project was done in mid july in Chandler AZ, where mid-day temps meet and exceed 110 degrees F daily. Optimum painting conditions call for temps below 90 degrees F, and low humidity. Here in the desert, humidity wasn’t an issue, but heat was. The only viable solution was to paint at night. The reason wh you don’t want to paint in temps above 90 degrees F is that you run the risk of solvent entrapment, which is a condition that causes bubbles, or fisheyes. Always follow manufacturer’s instructions when using any paint, don’t be afriad to call tech support.
Also, you can see in several pictures that I am wearing blue nitril gloves. There are three reasons why I am wearing them:
1. unlike latex, Nitril will not break down when exposed to prep cleaner or thinner in oil based paints
2. to help prevent the possibilty of my skin oils contaminating the surface, I know I clean a lot first, as you should, but I like to play it safe
3. I wanted to keep my hands cleen of course.