This is for those of you who want to mount your own tires and don’t care about scratching your rims. Scratches are usually minimal or not at all if you’re careful. This would work well on spare rims if you want to try different size tires for clearance. I’m always looking to save a buck and using whatever tires I find and mounting them myself saves me a few. I don’t recommend this for your $5000 rims.
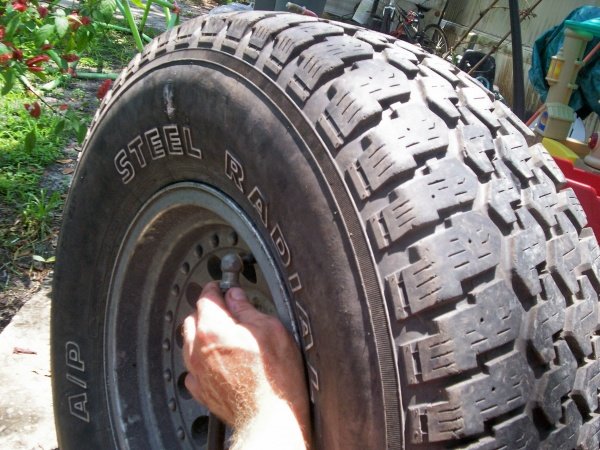
This is what I’m starting with, thoroughly used tire.

You will want to start by removing the valve stem insert.
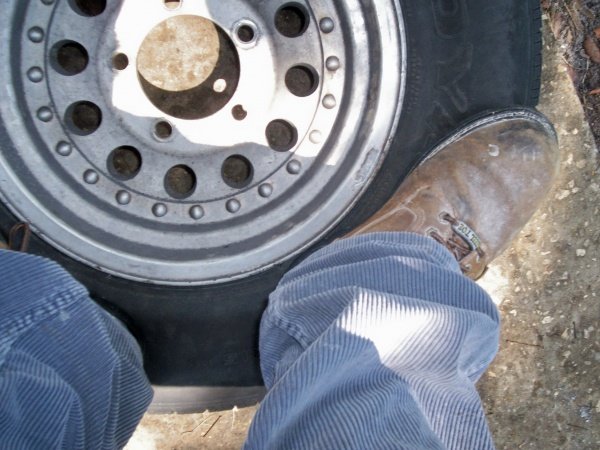
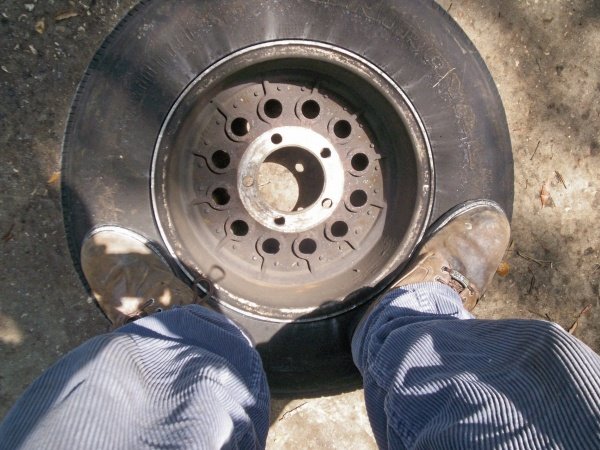
Then you need to walk around the bead of the tire as close to the rim as possible pressing your heel and bouncing to break the bead. This may take a few times around the rim. Start with the front side of the rim.
This is easier to accomplish with aluminum rims or steel rims in good shape. Sometimes the tire will be stubborn and stick to the rim, especially if the steel rim is rusty. Then you will need to loosen the tire from the rim by prying with 2 screwdrivers all the way around the rim, sometimes requiring 2 times or more around the rim. Then walk the edge of the tire again.
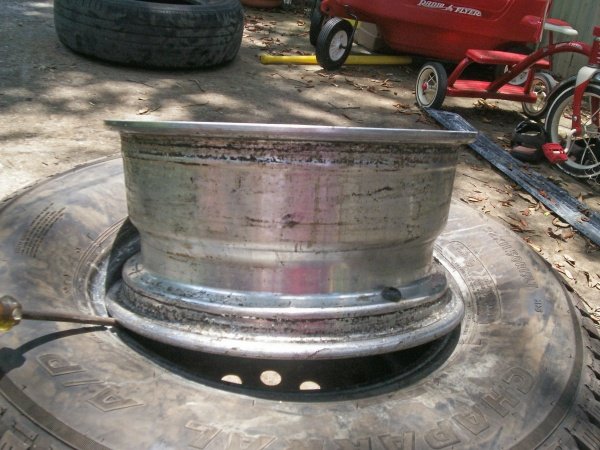
Once the bead is broken you need to push the tire down to the narrow part of the rim and then pry the bead out.
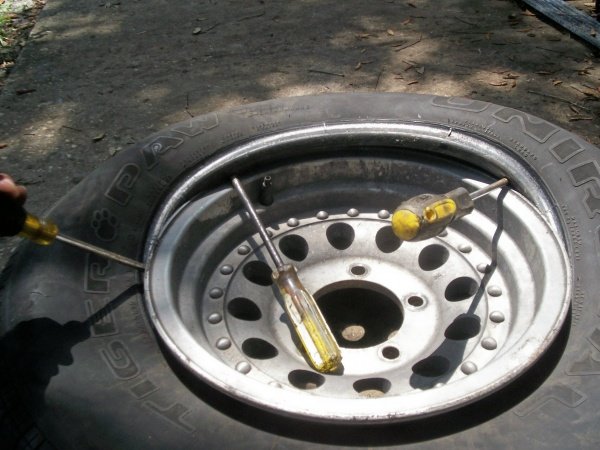
Then work the bead all the way out of the rim. I use 3 screwdrivers, 1 to hold the bead from slipping back into the rim and the other 2 to work the rest out. Go a little at a time, if you try to go too far ahead it will be very difficult.
Then flip the rim over and again start breaking the bead. The tire on the front is out of the rim so it will protect the face from scratches.
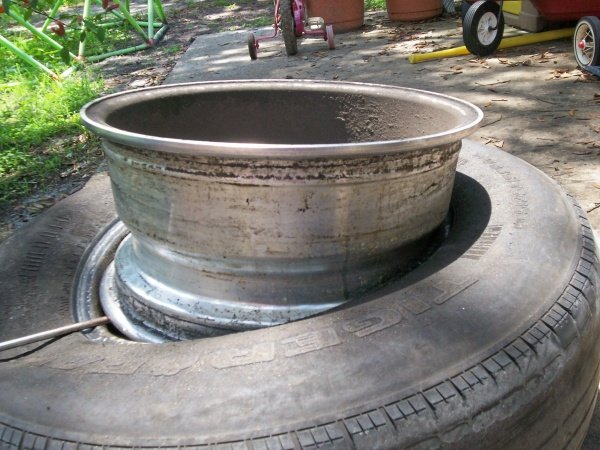
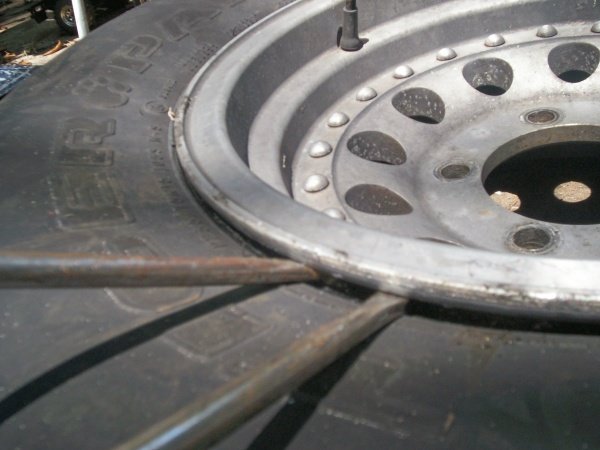
Here you can see the narrower part of the rim. This is where the bead must be pushed into so you are able to pry the tire out. Work the tire off the rim again with 1 screwdriver keeping the tire from pulling back on the rim and 2 to work it off. It must be done upside down like this because there is no prying room from the front side.
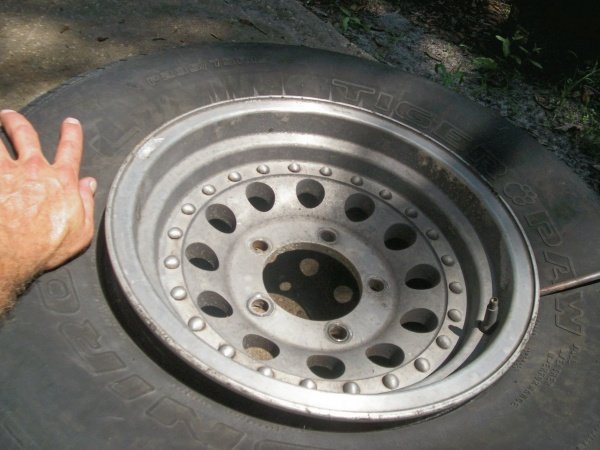
Breaking the bead and removing the tire was the hard part, on is easier. Lay the tire with the outside down and push the rim into the bead as far as you can with the rim also facing down. Work the tire on with the screwdrivers making sure the tire falls into the narrow part of the rim. Again, there is no prying room from the front so it must be done upside down.
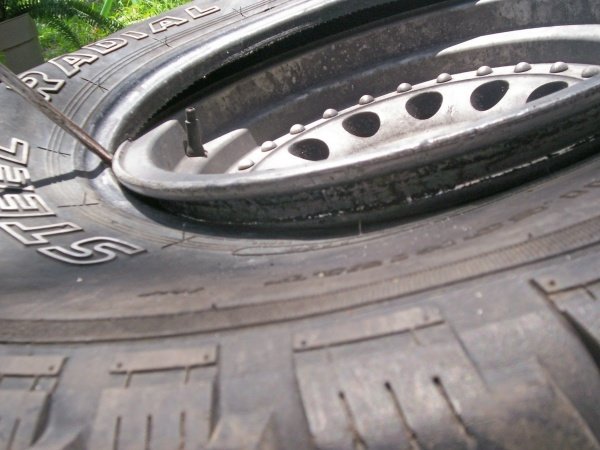
In the previous photo you can see the narrow part of the rim, which is towards the front side. This is why the tire must be removed and installed from the front side only, it will not come off from the back side. There is no room to get the bead into the narrow part of the rim.
Now flip the rim and tire over and work the front side in. Here you can see where I pushed the bead into the narrow part of the rim.
Reinstall the valve stem insert and inflate the tire. Some say to inflate the tire without the insert in as the air will go in faster and seat the bead easier but I have never had a problem. I just push the rim until the bead stops leaking. Keep your fingers away from the bead area!!!

Now I check the bead for leaks with soap and water. Do both sides.
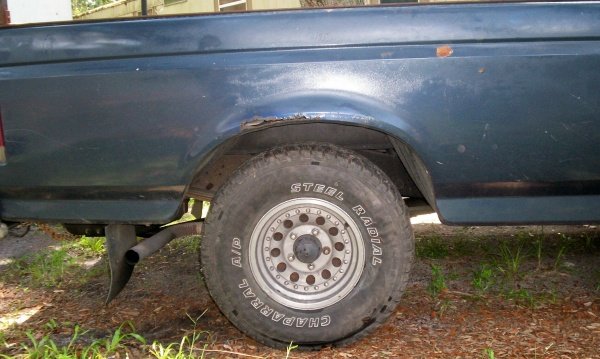
Now you are all done. Here is my “new” tire.